Thursday, August 28, 2014

Kise Tutorial

Hello ^_^

Sorry that this took a few days longer than expected to get out, I was delayed by watching Black Cat with my husband.

Here is the Kise Tutorial,  complete with pictures.

1.  Sew your seam.  I have found that I sew much better when I measure and mark the seam with a quilting pencil and ruler.  Kimono are great for marking seams, because they are all straight lines and no curves!


2.  With the right sides of the fabric still together - before you open the fabric - lay the raw edges towards you so that the seam is furthest away from you, at the top of the fabric.  (If a different orientation works better for you, use it!  This is a personal preference of where the seam is on the fabric.)

3.  Fold the seam back towards you so there is just about an eighth of an inch of fabric left on the other side of the seam.  The raw edges of the seam will be facing you.  Pin in place.

4.  Press firmly along the folded edge to crease the fabric.


5.  Gently open up the fabric so that one side stays folded a bit over the seam. 


Also, when making a kimono in the traditional manner, where there is a fold on the back of the kimono, after making the kise, you leave the fold pointing down, and do a running stitch, one per centimeter, to hold the kise in place.

I really like the way that kise looks!

I hope that this is very helpful to you!

Kristin ^_^

Tuesday, August 26, 2014

Kimono Construction

Hello,

First off, I apologize for not getting the progress pictures up last night, I was busy sewing the body of the kimono together.  I have not attached the front panels or the sleeves yet.  I will be attaching the front panels tonight, and the sleeves will be attached after the embroidery is finished. 

The reason for delaying the attachment of the sleeves is simple - as I am making a lined kimono, the opening under the sleeve of the kimono - the Miyatsukuchi (身八つ口  - is attached not only to the body of the kimono, but also to the lining, so that no seams are showing.  The kise also helps with this, but more on that later in this post.  When doing sashiko embroidery, it is necessary to leave slack on the back of the embroidery, and also, as the kimono will be washable, I will need to knot the thread on the back of the embroidery as well.  (There is a way to start sashiko without a knot, but from what I have read, it does not hold up well to multiple washes.)  It would make it much more difficult to embroider, leave slack, and make the knots, if the lining were attached to the kimono, even if it were just attached  the miyatsukuchi and not at the hem or collar.  Also, I am still unsure if I want to embroider on the sleeves or not, and, if I were going to attach the sleeves, I would first have to completely attach the lining to them, which would not work for the reasons listed above.

Something that I am trying to do correctly, and I think I have it mostly figured out, is kise.  I have not found a satisfactory definition of kise anywhere, so I am going to try to do it justice here.  Kise is a way of pressing your seams so that the seams are always covered by approximately 0.2cm of fabric from one side or the other.  I am not sure if it is traditional, but I have found that using silk pins while ironing the kise helps me keep it more uniform.  I am pretty sure I would have burns all over my fingers if I did not use pins.

The way that I have been making kise on this kimono is working for me, so I will try to lay it out and explain it.  I forgot to take pictures of the kise that I made yesterday, for the two back seams, but I will (hopefully) remember to take some tonight when I attach the front strips.  I need to make kise on the sides of the kimono as well, so that is four opportunities to do step by step pictures.  If I do get them, I will make a tutorial on kise and post it for everyone.

Kise

1.  Sew your seam.  I have found that I sew much better when I measure and mark the seam with a quilting pencil and ruler.  Kimono are great for marking seams, because they are all straight lines and no curves!

2.  With the right sides of the fabric still together - before you open the fabric - lay the raw edges towards you so that the seam is furthest away from you, at the top of the fabric.  (If a different orientation works better for you, use it!  This is a personal preference of where the seam is on the fabric.)

3.  Fold the seam back towards you so there is just about an eighth of an inch of fabric left on the other side of the seam.  The raw edges of the seam will be facing you.  Pin in place. (This I do have a picture of!)


4.  Press firmly along the folded edge to crease the fabric.

5.  Gently open up the fabric so that one side stays folded a bit over the seam. 

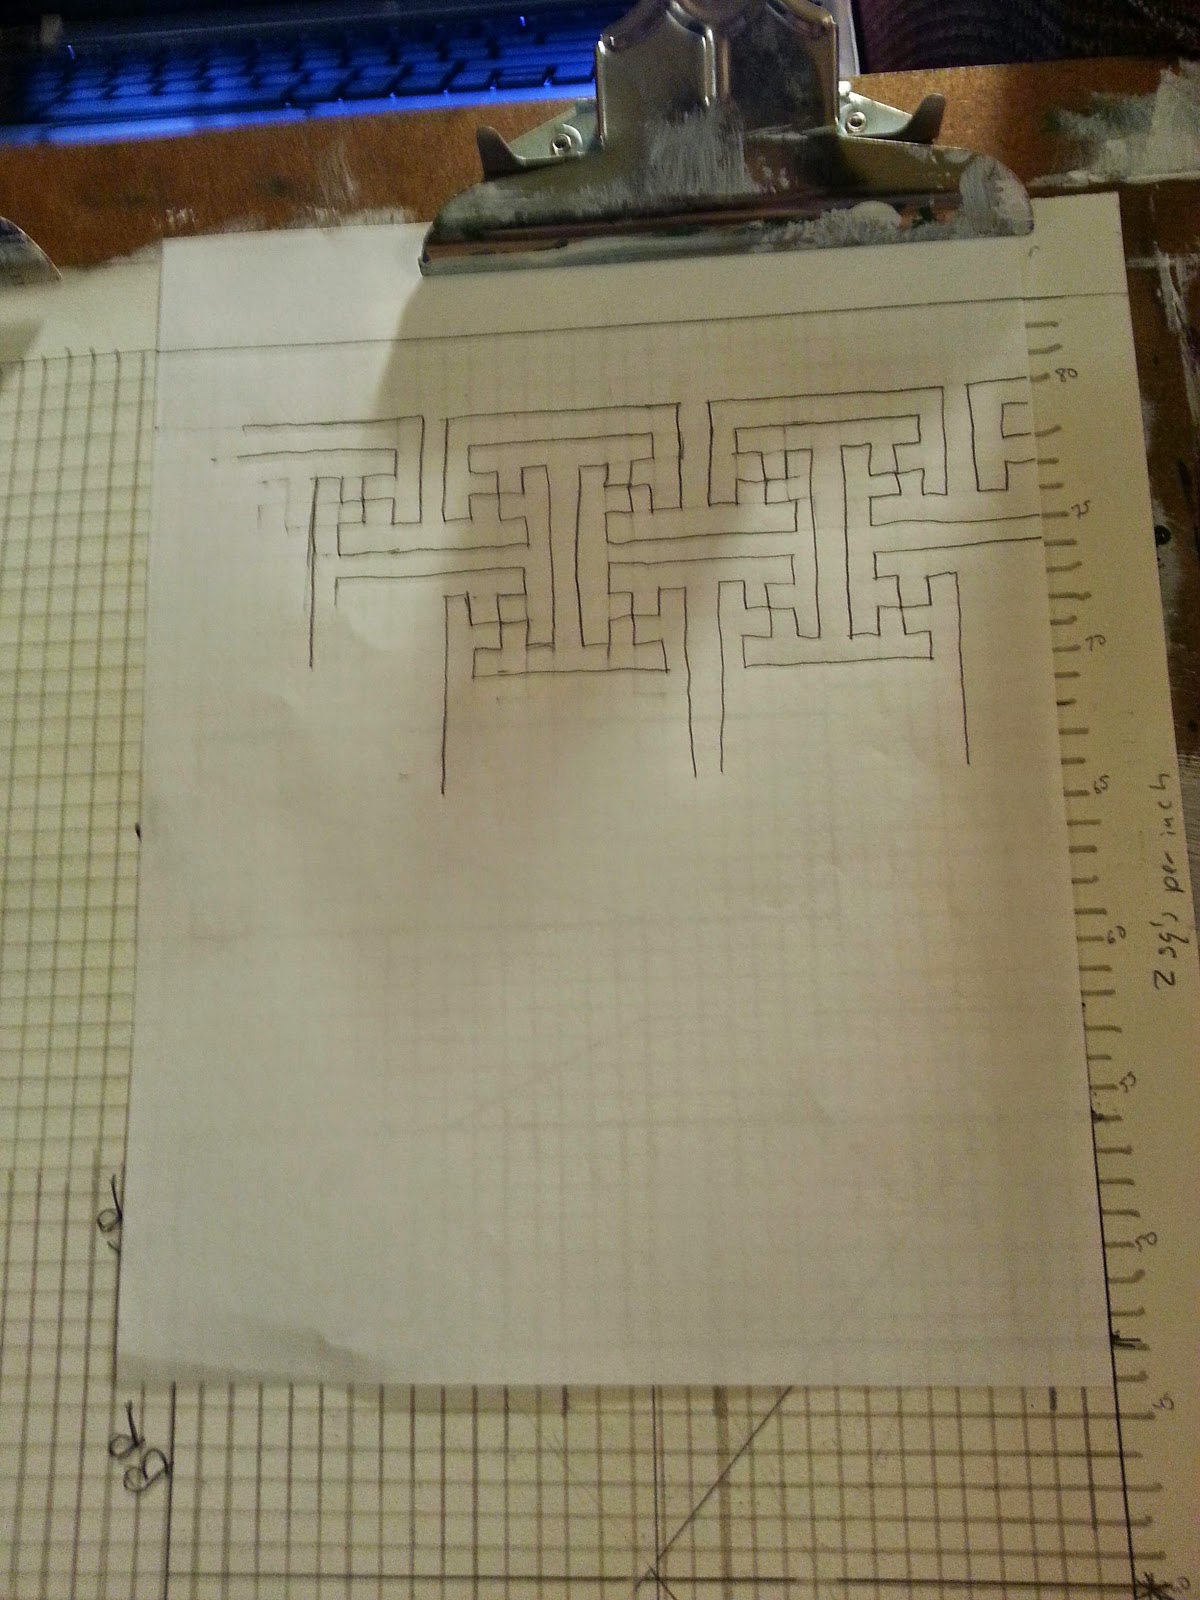
After I mark and sew on the front panels, I will be experimenting with different embroidery patterns by tracing them to tracing paper and will hopefully decide on one so that I can start tracing it onto the kimono body.  The design will have to be traced onto the outside of the kimono, and I am anticipating that it will be a bit tricky to line up the seams and such.  Luckily I am in possession of Scotch Tape so that I can tape multiple sheets of tracing paper together.  I am only going to tape them together vertically, because if I tape them together horizontally, I will have difficulty with raising them a bit to trace the line of the embroidery onto the fabric.  I am having difficulty getting my hands on some dressmaker's carbon paper, which would make this a whole lot easier, so I am under-tracing the designs with a yellow quilter's pencil.  I have found that the easiest way to do this is to leave the tracing paper close to the fabric, put the tip of the pencil at the start of the line, and use my left thumb (as I am right handed) to guide the pencil along the line as I am under-tracing. 

On a side note, I have discovered that the kimono fabric photographs dramatically different depending if I use flash or not.  The picture above I used flash for, and it is a nice deep purple.  When I don't use flash, however, I get a much brighter color that is almost raspberry.

To be quite honest, I am not sure which one I like better.

For the embroidery, I will be using a winter white.  This is subject to change - I may just take my kimono and go into the embroidery section and lay out a bunch of different colors on it to see which one I like best.  I would ideally like to find a green that works with the kimono and lining.  The lining is a nice bright yellow green that will stand out very nicely, and the han-juban - which is a bit like a wrap skirt that goes under the kimono so that people don't get flashed - is a bright green.  I dyed the lining and the fabric for the han-juban together, they just took the dye very differently, which is a bit frusturating, as I like the color of the han-juban much more.  If, once I am done with the embroidery, I decide the colors of the lining don't match well, I may try to re-dye it a deeper green.  Unfortunately I am not quite sure what happened to that dye, so I may have to order more.  I am hoping that I will be satisfied with the colors together and not have to re-dye though, that would be great.

And lastly, I would like to introduce you to my nemesis...
Sorry that the picture is a bit fuzzy, she does not like laying still.  This is Itoshii, one of two cats that we own.  As you can see, she has long hair and thinks she owns my ironing board.  That is what the lint roller in the picture is for - every time I need to use it, I kick her off and lint roller it to keep from getting cat hair and dander all over everything.  Unfortunately, she has decided that the table is her space and that I have to pay in pets to use it, which is frustrating when she decides to lay on my fabric while I am trying to mark it.  She also loves to try to eat my marking pencil as I am drawing lines with it.  Lucky for her she is adorable and purrs oh so loud while being naughty so Mommy doesn't get too mad at her.

I will hopefully have a tutorial (with pictures) of how I make a kise tomorrow.

Thanks for stopping by!

Kristin


Monday, August 25, 2014

Update on Kimono

Over the weekend, I worked on re-dyeing the fabric for the kimono and practicing sashiko embroidery on a scrap of the fabric that was dyed the first time.  I had to re-dye the fabric because there were several spots where the fabric bunched up and the dye didn't settle evenly.  When I re-dyed it, however, I didn't use the same mixture of dye that I used the first time, as I didn't have enough of the Red Wine Dye. 

This time around, I used a 1/4 a cup of a mixture of Red Wine and Light Red Fiber Reactive Procion Dyes, and a 1/4 cup of the Black Cherry Fiber Reactive Procion Dye.  Also, to help prevent uneven dyeing, after mixing in the dye and salt into the washing machine, I laid the fabric flat on the water and circled it around the agitator.  I also used less salt, about half of what is suggested on the instructions.  I was worried, because there is really no way to take the fabric out mid wash and see if the dye is adhering. 

I set my alarm on my phone to go off every five minutes, and kept resetting the washing machine so that my dye bath didn't drain out.  I initially had it set for every eight minutes, but when it got to six or seven minutes, I heard the dye bath start draining and decided to set it for a shorter time, even though it meant more trips to the machine.  I left it in with the dye for twenty minutes, and then stopped the machine and added the soda ash.  Since I had circled the fabric around the agitator, I couldn't get the fabric to the other side of the machine, as is suggested when adding the soda ash.  I moved it as far from the wall as possible and hoped for the best when adding the soda ash mixture.  (As the soda is used to fix the dyes to the fabric, if it gets on the fabric directly, it can cause dark splotches.)


After an hour agitating with the soda ash, I put the fabric through two rinse cycles, then a hot wash cycle with Tide Clear Detergent.  Then it was into the dryer, and then back into the washer to get the residual salt off of the fabric.  During the rinse cycle of this wash, I put in some Downy Fabric Softener to get the softness of the fabric back after the dyeing.

I am very excited to say that the fabric took the dye beautifully, with no splotches.  I really like the color that resulted as well - the previous color looked a bit washed out, but this is a vibrant deep color.  I ironed the fabric on the wrong side, and then, feeling motivated and energetic despite it being 10:30 at night on Sunday, I marked the sewing lines for the body according to the instructions for making a yukata from a roll.  A while ago, I had copied this webpage into a word document and added measurements in inches on every step.  This is a great resource, as it provides details for sewing the kimono in the most authentic way possible.  Prior to washing and dyeing all the fabric, I had zigzag stitched all the raw edges to prevent fraying in the wash, so that made it easier to mark.  I did realize, after some frustration in trying to get my top and bottom edges even, that one of my body panels had shrunk more than the other in length, so I attached one end to a hanger, put it on the front door, and then aligned the fabric correctly, and had my husband hold the fabric taut while I pinned the ends together, and then cut the ends even.  Marking the sewing lines for the front and back panels took until nearly 12:30am for two reasons. 1) It took me nearly thirty minutes of fiddling with the fabric to realize that one piece was longer than the other.  2) My cat decided she wanted attention and made herself a fabric weight, which made it difficult to draw lines with my quilting ruler as I had to keep moving her.  Also she kept trying to pull the pencil out of my hand while I was drawing lines, and tried to steal it a few times when I had put it down and was arranging my fabric.  I will post progress pictures later tonight of the fabric and the lines drawn on it. 

I am very excited to have the lines drawn, as that is the tedious part.  Now I just have to decide if I want to embroider the fabric before or after sewing the body.  There are pros and cons of each way.  If I embroider the fabric before sewing the body, it will be less bulky while I am embroidering, but the designs might not match up perfectly when I sew the fabric.  If I embroider after, I can make sure the designs match up perfectly, but it will be harder to sew due to the bulk of the kimono, and also I will have to make sure to embroider all the way to the seam so there is no gap, but not over the seam itself.  That way if the seam rips for some reason, the embroidery will not be ruined.  Due to the fact that the seam lines are drawn prior to sewing, I may go with embroidering first, but I am still not sure.  My main concern is that, as I have made the neck cut, I will need to sew from the neck down, and the embroidery will start from the bottom of the kimono and go up, which leaves the possibility that it will not match up, and that would really upset me.  For that reason, I will probably go with the sew first then embroider method.  I think that the extra work will really be worth it, and I want this kimono to be perfect.

For the sashiko practice, I copied the design using tracing paper, and then transferred it to a scrap for fabric from the first dye job using a yellow quilters marking pencil, which I like because it doesn't brush off easily (you remove it with a wet cloth).  I initially tried the embroidery using a small crochet thread (size 10 I believe), but the needle I had to use (size ten) for that was to thick for the fabric and was not only difficult to get through, but was also leaving large holes.  I went with a smaller needle size (a size six), and used three strands of embroidery floss and got much better results. 


As a side note, I purchased all the materials for dyeing the fabric, and the fabric itself, from Dharma Trading Company, which is a great resource for any sort of fabric art.  They have wonderful customer service as well.  The fabric for the body of the kimono is a Bemberg Rayon Twill, which was unfortunately a promotional fabric.  The lining is Rayon Voile.  I luckily got both on sale, as I bought 12 yards of the twill and 7 yards of the voile.  Instructions for dyeing can also be found on Dharma Trading's website, as can many other instructions and tutorials.  They also have a good selection of books.  (I am particularly interested in the fabric sculpting section of their website, but that is on hold for the time being.)  I was not compensated in any way for saying this, I just really love Dharma Trading Company!

I will try to post some progress pictures tonight.

Thanks for stopping by!

Kristin ^_^

Saturday, August 9, 2014

And the Winner is...

I have decided to use sashiko embroidery to decorate the kimono.
The dyeing is now done and the pieces are in the dryer now. It came out mostly good, but in a few places the fabric bunched up so I am not very happy about that but I do not have anymore dye so I am going to to position the parts that bunched up so they still look nice. There are only a few parts at least so that is good.

Anyways...sashiko. 

I found a book that I had bought when I worked at Joann Fabrics called "Japanese Sashiko Inspirations" by Susan Briscoe. I read through it again today and decided that the kimono would look great with sashiko style stitching on it.
One of the first things the book tells you when you are planning sashiko is to get a grid.
So I am all excited looking for my quilters grid that I never used - can't find it. I decide okay, I have a spiral book of graph paper at least - can't find it.
And then I spot my drawing board and a big pad of paper and I decide to get sneaky about it.
So, after nearly an hour and a half, I've got my grid.
Yay grid!
Next I pulled out my measurements that I had gotten eons ago from Samantha and breakdown how much grid space I will need to each piece...and discover I did not have enough grod space. No problem, I halved the grid measurements. Crisis averted.

So next I pull up the design I want to use.
http://sakepuppets.files.wordpress.com/2011/12/p1090908.jpg
And I put a piece of paper on my drawing board over the grid and just kinda stare at the sashiko for a while before just picking a spot and jumping in and coming up with this.

So then I draw some lines on my kimono drawing and eventually decide on the flow of the pattern.

Essentially, the right side starts with light green, and the left side starts with slightly darker green and the go across. The middle bottom triangle will have both colors, with the lighter green bracketing the darker green lines.

So my next step is to sew the kimono body together and then the sleeves together so that I can embroider without having to worry about my lines matching up once I am done.

Things I need to buy:
- lots of medium green cotton embroidery thread
- even more light green cotton embroidery thread
- dressmakers carbon paper and tracing wheel
- embroidery needles
- thin tracing paper

Also I need to either find my quilters graph paper or buy some at one of the back to school sales.

Friday, August 8, 2014

Kimono - Revisited

So it's been a busy near year. I have moved twice and Samantha had a baby. This weekend I am going to be revisiting the kimono.
I recut the piece that was ruined from the painting and zig zag stitched the raw edges. I was planning on dyeing it tonight as well but I don't have non iodized salt (I need 20 cups of it).
Tomorrow, after buying the salt, I am going to tub dye the fabric for the kimono shell in the washing machine and then dry, iron and sew up the back and sides of the kimono.
My plan now is to use fabric medium for acrylic paints and paint a design on the bottom of the kimono, or to use sashiko-type embroidery with green thread to embroider a design on it. I will be dyeing several other pieces that aren't part of the kimono so that I can practice the techniques before I decide on them.
I hope to have the kimono done by the end of August.

Friday, October 18, 2013

More Progress

First of all, a few years ago, Samantha and I did a geisha makeover at Metrocon.  Here is one of my favorite pictures from it.  I am wearing the blue kimono, as the big sister, and Samantha is wearing the pink kimono.


Next - this weekend will be jam packed.

I was working on my stretcher frame, trying to get the pins bend so that they would create the hooks, and I realized that the pins I had bought specifically for this were way to small.  Luckily, I had some other pins that I could use, but then I couldn't find needle nose pliers.  That was solved when I found a pair of bent tweezers that I used to bend the pins, and I managed to bend about half of them.  So tonight I plan to finish bending all the pins and then, tomorrow, I am going to paint the kimono shell and sew the obi, as I finally bought my obi stiffener.

Also, I bought the fabric for the tatoushi, so I will try and get that done tonight as well.

On Sunday, I will be washing out my fabric, and then, during the week, I will be locking myself in my sewing room trying to get the kimono sewn.  I also need to sew the han-juban, but that will be very easy.

I have decided to not paint on the obi, as, if it is folded in half, I do not want the paint to rub off on the kimono.

My goal is to have the kimono done by mid-afternoon on next Saturday, the 26th, so that Samantha can come over and try it on.  It needs to be by mid-afternoon because I am having a chili cook-off with my mom and my sister's family in the evening.

I will have to work very hard, but I believe that I can get everything done.

Wish me luck!

Kristin

Monday, October 14, 2013

First Dyeing Attempt

Just finished dyeing the lining and han-juban fabric for the kimono. This is my first attempt at dyeing fabric using fiber reactive dyes.

I wwas nervous because the dye has more turquoise in it so you have to dye it on higher temperatures,  and was floored with the color I got. 

First dyeing attempt - successful!